Explore the Green Sky Landscapes blog for expert Byron Bay landscaping tips, garden design ideas, coastal planting advice, water features, paving inspiration and more. Practical guides from your local Byron Shire landscapers to help create your dream outdoor space
Blog
Natural Stone Wall Cladding Ideas for Byron Shire Homes: Two Ways to Build in Stone
A stone wall is an individual and unique finish. Done properly, it's hand-shaped, piece by piece, and it's still doing its job years from now.
Most walls on a new build or reno get treated as an afterthought. Render, blockwork, or a pre-cast panel that just marks a boundary or covers a wall. Natural stone cladding, laid the right way, is a different decision. Here are two projects that show what that actually looks like — a boundary wall in Suffolk Park, and a full stone entrance in Coopers Shoot that carries the same material from the street straight through the front door.
Boundary Wall — Suffolk Park
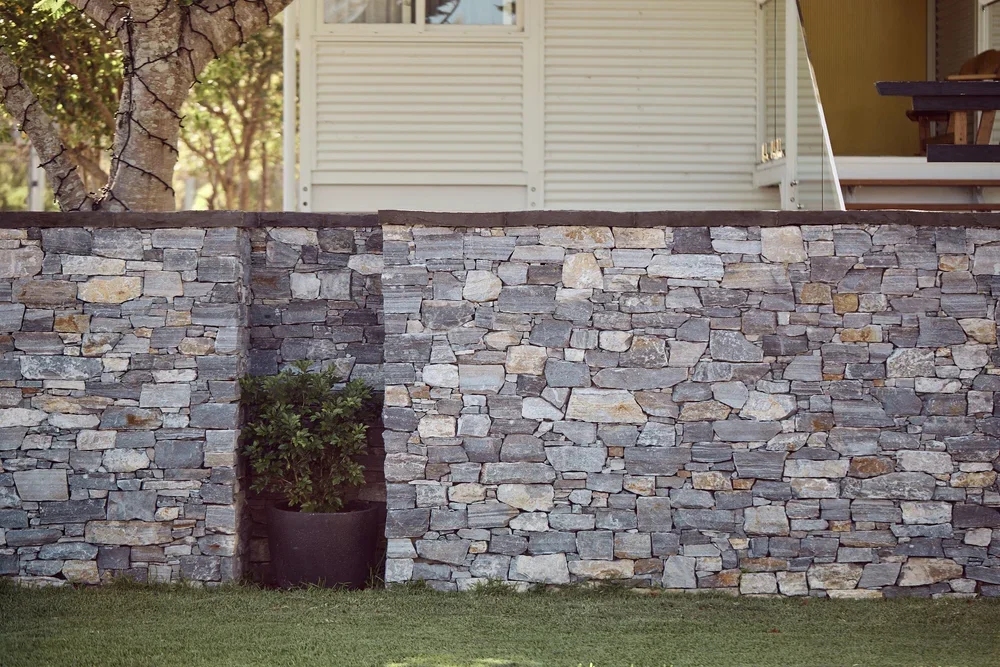
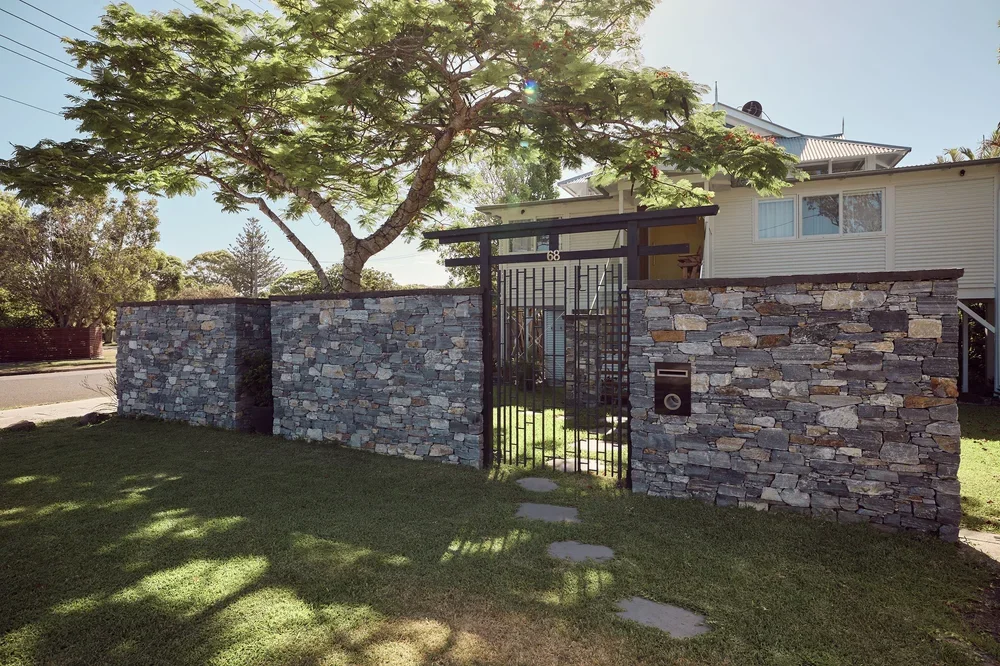
A boundary wall should do more than mark the edge of a property. This one was built from hand-shaped limestone the full length of the wall and piers, then capped in bluestone.
Limestone brings a mix of greys, browns and light blues through the wall. The colour shifts as you move along it rather than reading as one flat tone. That contrast against a smooth cut bluestone cap is the main idea behind the design.
Every piece was hand-shaped instead of cut to a repeating pattern. Each one set and laid individually — not fitted to a standard module. That’s what gives the wall its texture and colour movement. No two sections look the same.
The bluestone runs along the top of the wall and piers. It gives a clean level line against the irregular limestone below, and it sheds water so it doesn’t sit on the joints.
Stand at the street and the wall holds its ground. Hand-shaped limestone shifting between grey, brown and light blue, bluestone running clean above it. Nothing about it looks ready-made. This is a boundary that was built, not installed.
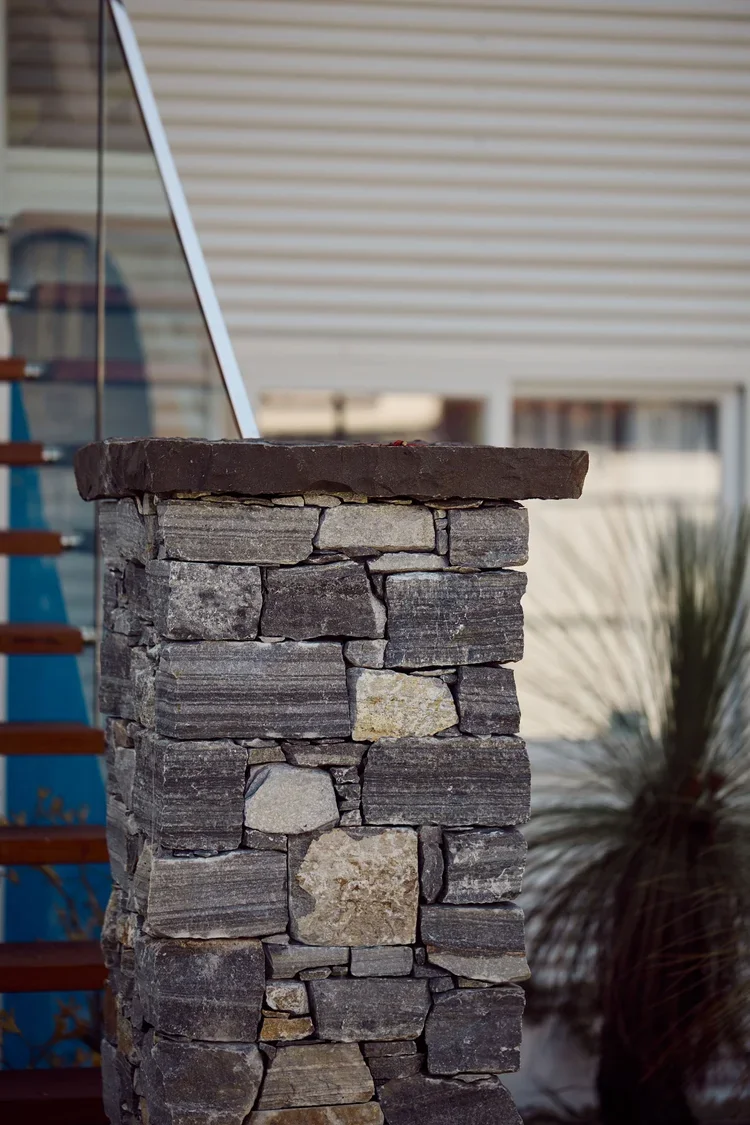
Entrance & Facade — Coopers Shoot
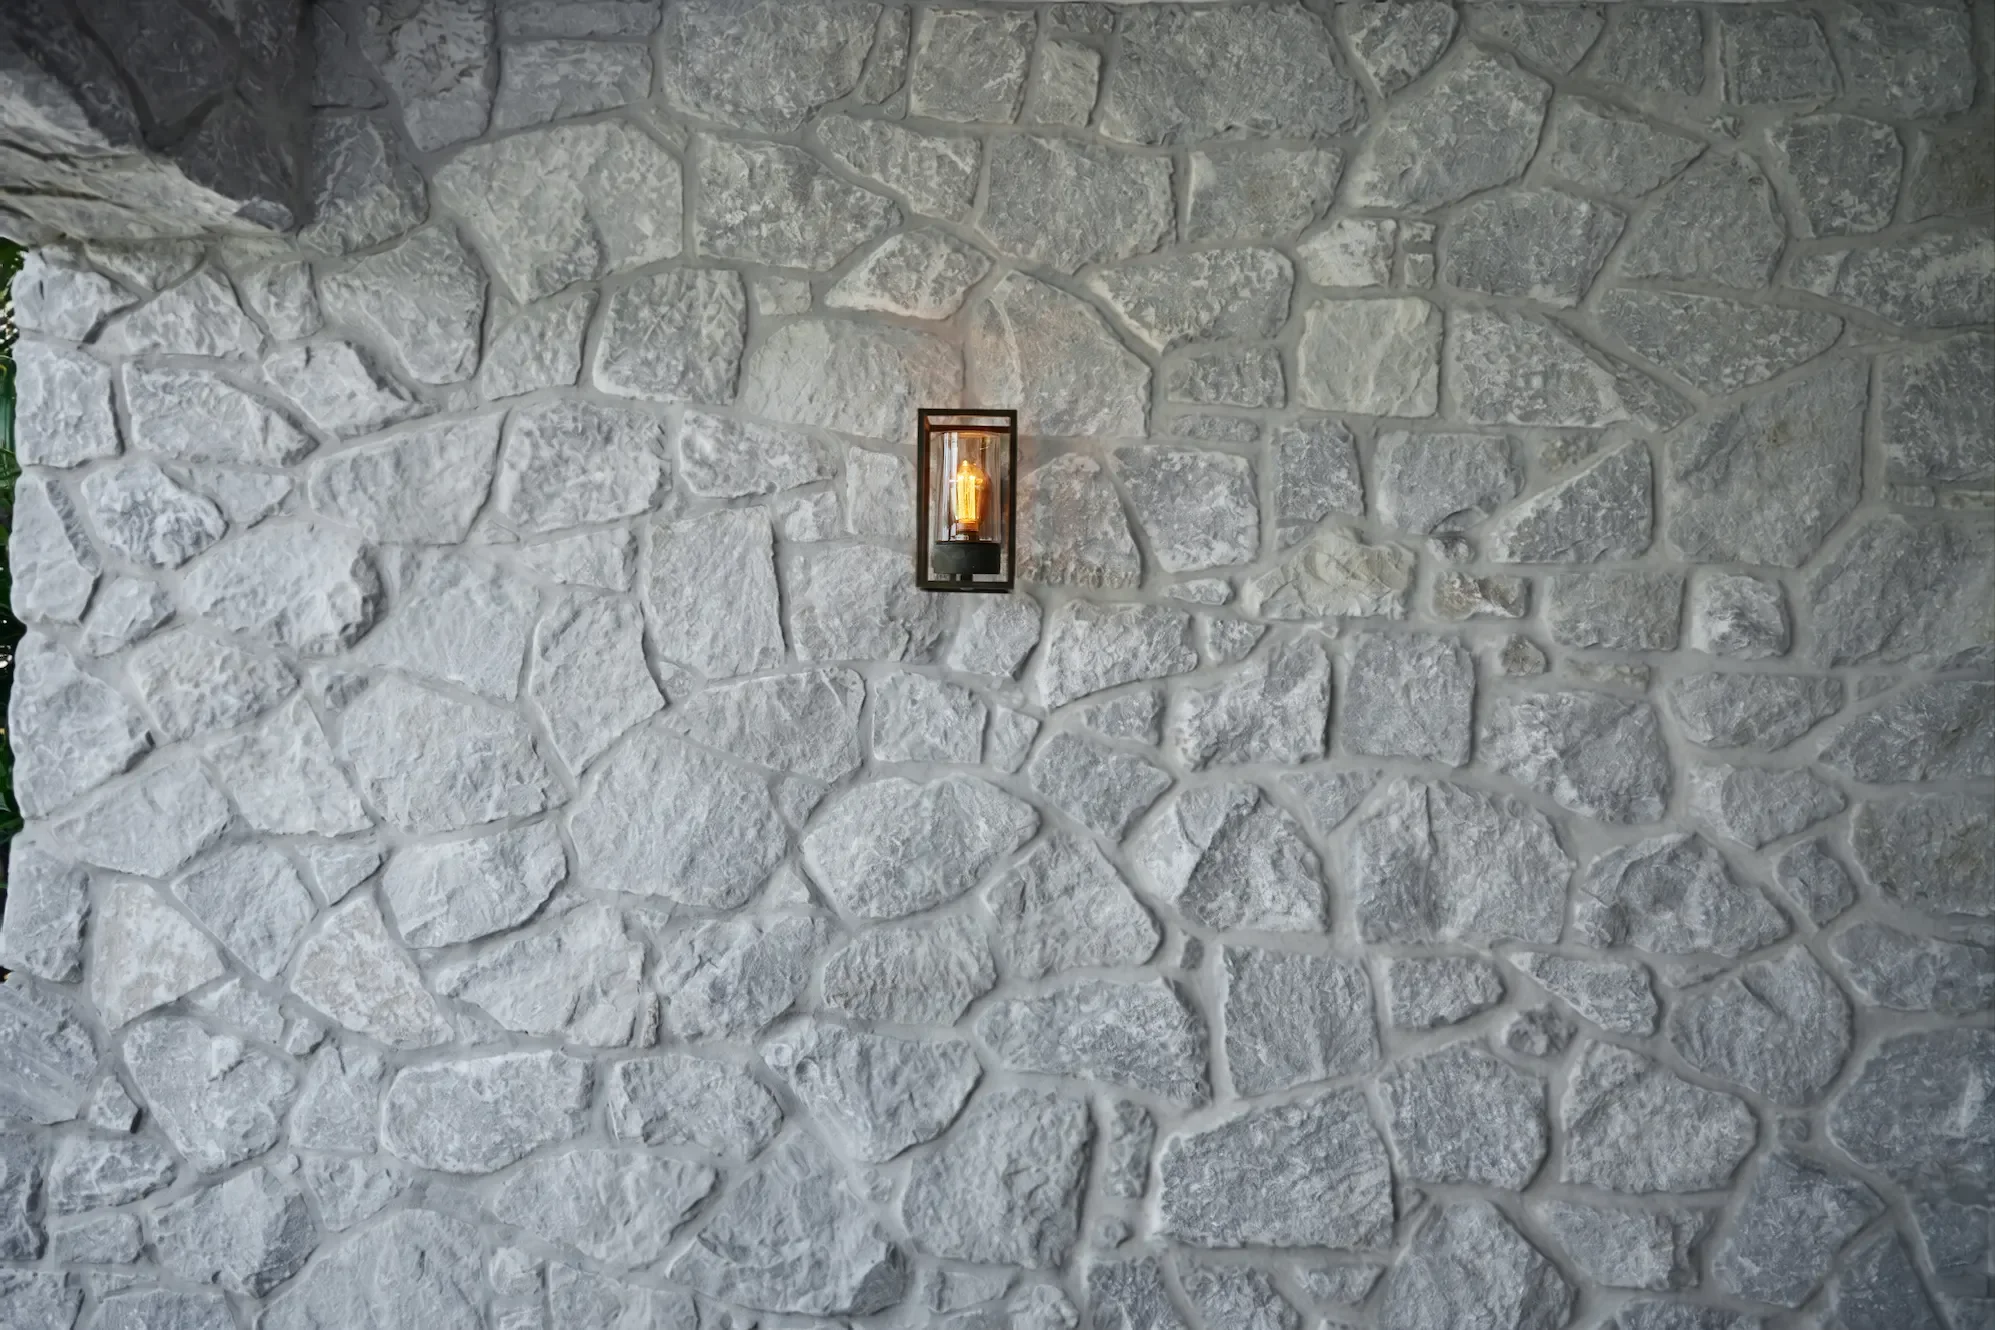
Most entrances treat stone as a surface finish — applied outside, then left behind at the door. This one was built the other way. Hand-shaped stone cladding starts on a two-storey facade, wraps the entry pier, and continues straight through into the interior.
Every piece was hand-shaped. No repeating module to fall back on across two storeys. Each piece had to be set and fitted individually, then matched again as the stone crossed the threshold into the house. One material, one line, exterior to interior.
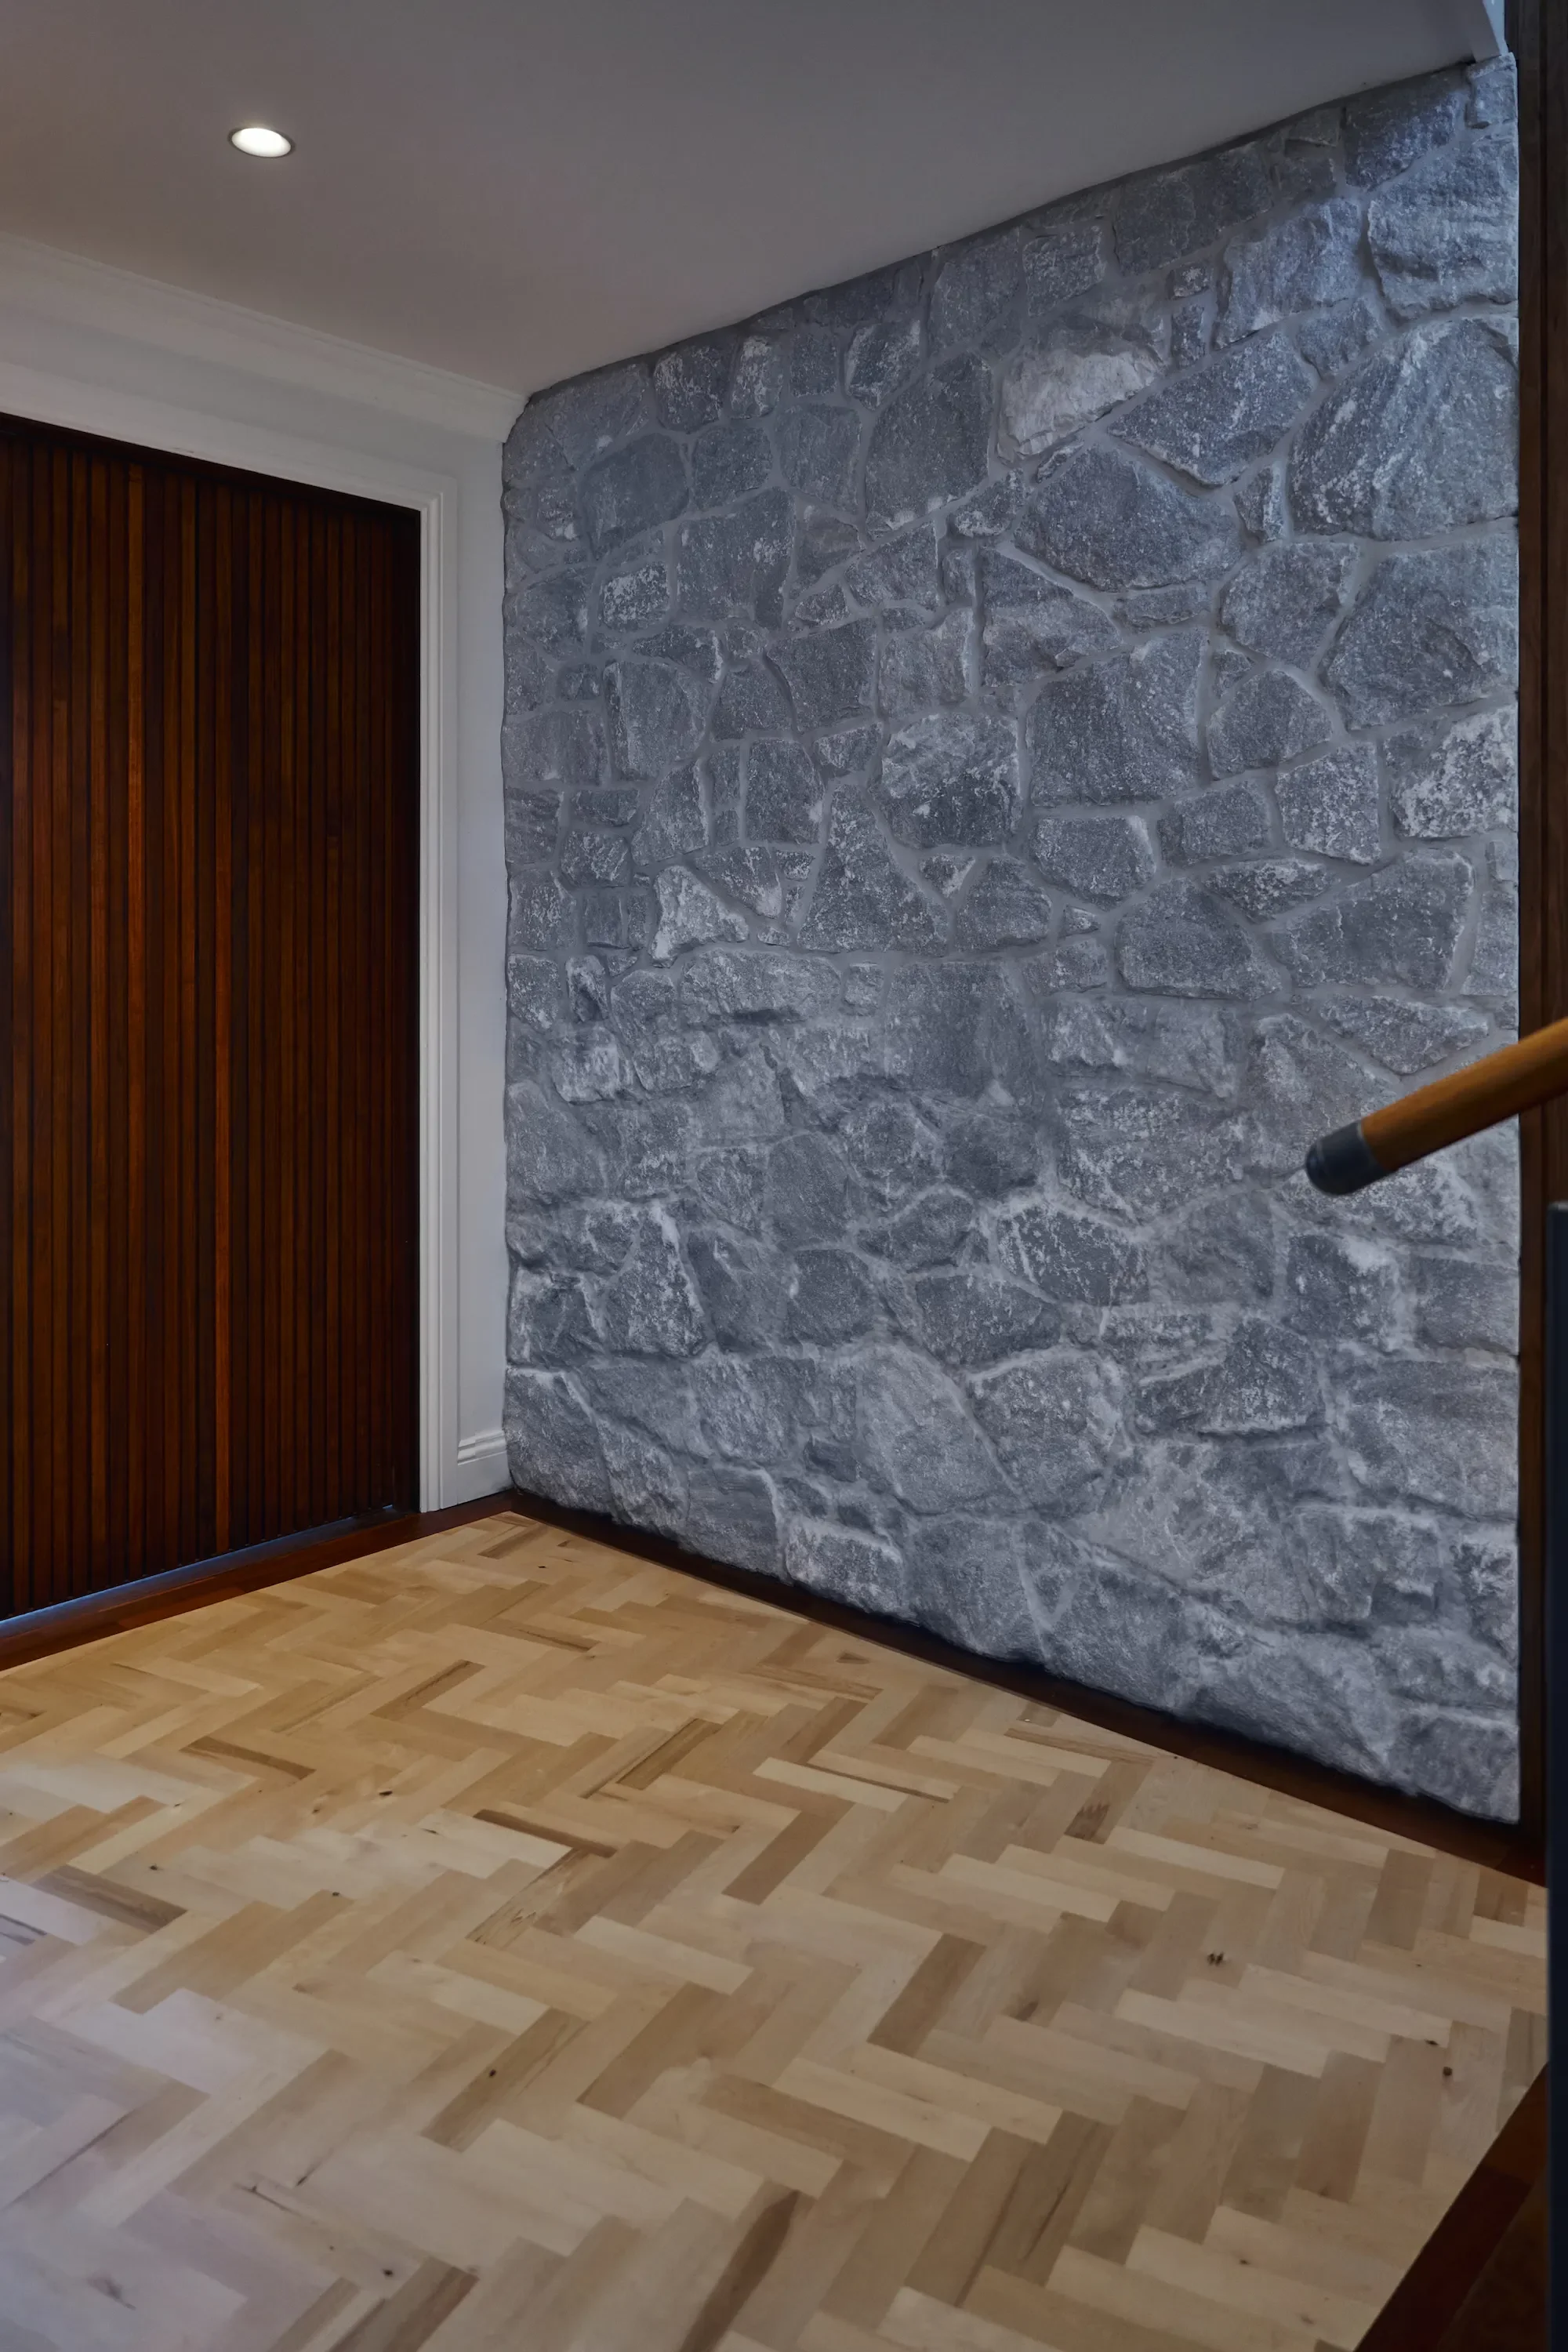
Carrying the stone through the doorway was the harder part. There’s no straight cut-off to hide behind. Every joint had to keep matching as the material moved from an exterior wall to an interior surface. That took close coordination with the rest of the build.
A curved cobblestone path connects the street to the entrance. Laid in a heritage pattern that suits the stonework above it. Each stone hand-laid rather than set to a grid, keeping the same non-uniform approach used on the facade. The curve was set out to work with the pier and wall so it leads the eye toward the entrance instead of cutting across it.
Walk up to this home and the stone doesn’t stop when you do. It runs the full height of the facade, wraps the entry pier, and keeps going straight through the front door — the same hand-shaped stone, the same line, no seam where outside becomes in. An entrance built as one decision, not two jobs that happened to meet at a threshold.
Hand-Shaped vs Uniform Cladding
Hand-shaping takes longer than uniform, machine-cut cladding. Every piece is fitted individually rather than repeated across a module. That’s what gives a wall its texture and colour movement — no two sections read the same.
The trade-off is time. Consistency has to hold across the whole run with no repeating pattern to lean on. Harder on a two-storey facade like Coopers Shoot than on a single boundary wall. Uniform cladding is faster and more predictable. Hand-shaped stone reads as considered rather than manufactured. That difference is the reason to choose it.
Built for the Coast
Limestone and hand-laid cobblestone both hold up well in coastal conditions. Neither needs repainting or resealing. Limestone keeps its colour and texture with minimal upkeep. Cobblestone drains naturally and handles foot traffic and weather without shifting once it’s on a proper base.
What Drives the Cost
Scope and scale matter more than the material itself. The real drivers are the length and height of walling, whether the stone stays outside or carries through a threshold, and how much hand-shaping and matching that transition needs.
A boundary wall like Suffolk Park is a single, contained run. A full facade-and-interior treatment like Coopers Shoot spans two storeys, carries through a threshold, and needs more coordination between trades to keep the material and joint work consistent. The only accurate way to price a specific wall or entrance is a site visit and a proper quote.
Frequently Asked Questions
Why use hand-shaped stone instead of uniform-cut cladding?
It takes longer, but no two pieces are identical. That’s the texture a machine-cut pattern can’t replicate.
Is a limestone wall durable in coastal conditions?
Yes. No repainting or resealing needed. It holds its colour and texture with minimal maintenance.
Why carry stone cladding through into the interior?
Stopping at the door creates a visible break. Carrying it through makes the whole entrance read as one decision rather than two finishes meeting at a threshold.
What’s the challenge across a two-storey facade?
Consistency at scale. With no repeating module, any inconsistency shows up more across two storeys than on a single-level wall.
How long does it take to build?
Depends on scope. A contained boundary wall is shorter than a two-storey facade carried through to an interior. Hand-shaping adds time either way because every piece is set out individually.
-
It takes longer to set out and fit, but no two pieces are identical — that's the texture a machine-cut pattern can't replicate.
-
Yes. No repainting or resealing needed — it holds its colour and texture with minimal maintenance over time.
-
Stopping at the door creates a visible break between outside and in. Carrying it through makes the whole entrance read as one decision, not two finishes meeting at a threshold.
-
Consistency at scale. With no repeating module to rely on, any inconsistency shows up far more across two storeys than on a single-level wall.
Thinking about stonework for your own home? Contact us and we’ll talk through what fits your property.
Or see the full projects: Stone Boundary Wall, Suffolk Park and Stone Entrance, Coopers Shoot
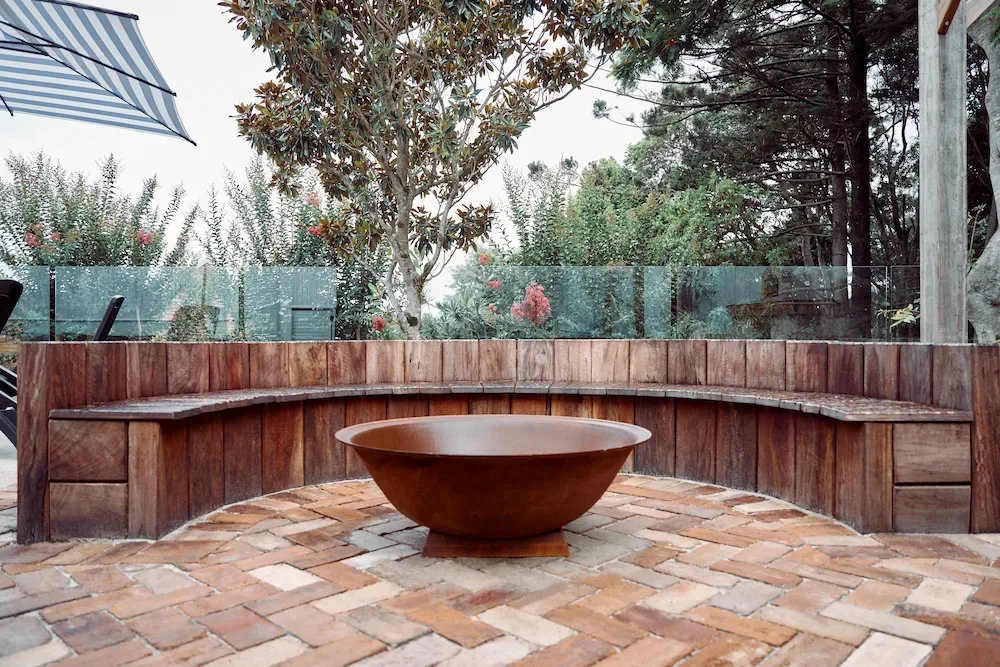
Fire Pit Ideas for Byron Shire Backyards: Building a Space That Actually Gets Used
A fire pit isn't a feature you add to a garden — it's the reason people stay outside after dark. Two real builds, two very different styles.
A fire pit isn't a feature you add to a garden. Done properly, it's the reason people are still outside at 9pm instead of back on the couch.
Most backyards in the Northern Rivers get used in daylight and forgotten after 6pm. Fire pit ideas that actually work start with construction, not decoration — set in place, sized correctly, with seating designed around it from the start, so evening use is the plan, not an accident.
This guide covers two real approaches we've built for homeowners across Byron Shire and the Northern Rivers — one rustic, one Mediterranean — plus the practical things worth knowing before you commit to one: cost drivers, council requirements, and how to choose the style that fits your home. Done right, a fire pit becomes the natural focal point of a backyard and stretches outdoor living well past summer, into the cooler months when most gardens go quiet.
Start With the Question: What Does This Space Need After Dark?
That's the brief every time. Not "where do we put a fire pit," but what the whole space needs to work once the sun's down — fire pit, seating, paving, lighting, all positioned outward from the same centre point.
We took that approach on a recent project in Banora Point — a backyard with good bones but no real purpose after dark. Fire pit first. Everything else built around it.
Rustic — Banora Point
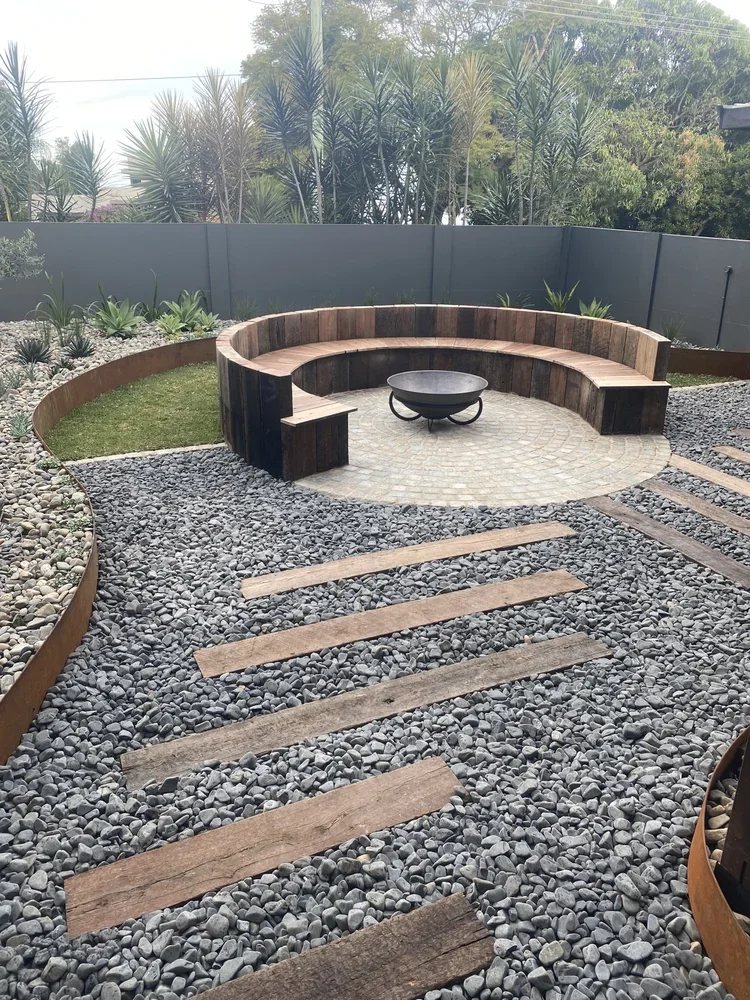
Built In Place
A custom-built fire pit is constructed with the correct dimensions for heat output and airflow, set into the ground properly, built to be used hard for years. Made for the space, not placed in it.
At Banora Point, the fire pit area sits inside a cobblestone circle on a prepared, compacted base — tight-jointed, tough enough for direct fire heat, foot traffic and Northern Rivers weather. No sealing, no ongoing maintenance, no shifting.
Why a Circle, Not a Square
A circular layout solves what straight lines can't: every seat faces the fire, nobody's stuck at the wrong angle or the end of a bench. It also makes the fire pit the clear focal point of the space rather than one feature competing with others. The curve softens the materials too — cobblestone and heavy timber are hard and textural, and the circle stops the space feeling rigid.
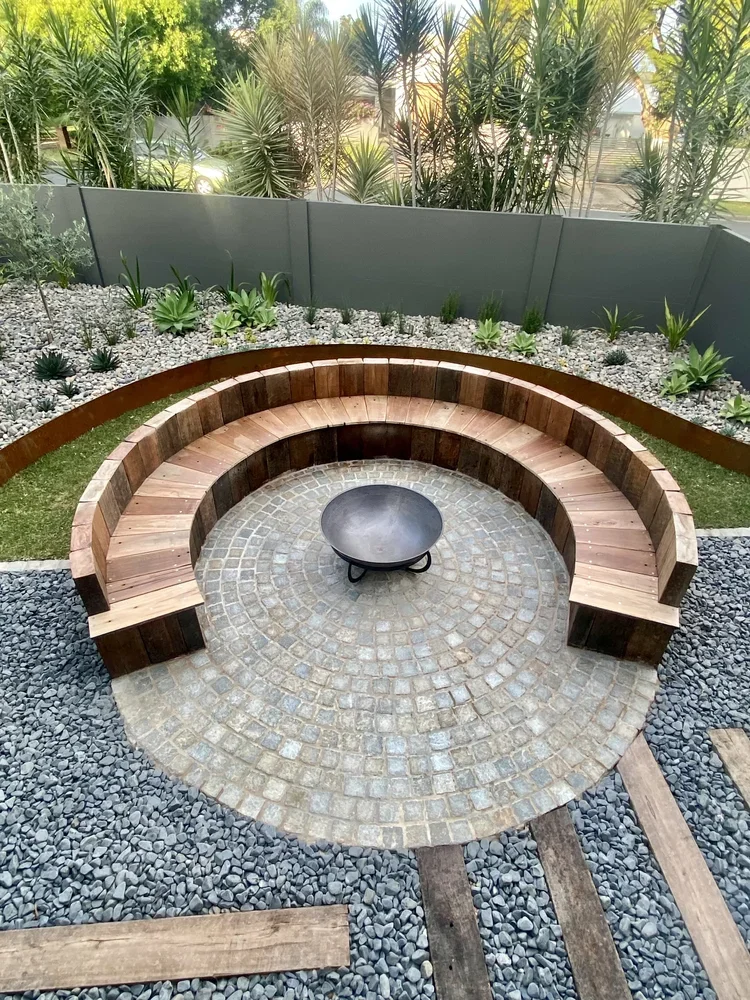
Seating Built Into the Design
The fire pit seating here is recycled railway sleepers — dense, pressure-treated hardwood already proven over decades of rail use. Curved into a bench and bedded into the ground, it won't move, and it brings a weight nothing bought new can match. It's one of the simplest fire pit seating ideas there is: use a material that's already tough, and let it do the work. The same sleepers reappear as a path and low edging, tying the whole outdoor living space together.
The Details That Make It Last
Corten steel edging — rusts to a deep, warm patina within months and forms a stable, protective finish. It holds garden bed lines clean against the cobblestone and gets better looking the older it gets.
Textural planting — planted close in around the fire pit and paving so the hard materials have something soft to sit against, without ever competing with them for attention.
Subtle night lighting — low, warm, and positioned to work with the fire rather than compete with it, so the space still feels like it's lit by flame even once the sun's fully gone.
Together, these are the difference between a fire pit space that looks considered and one that looks like an afterthought.
Mediterranean — Lennox Head
Where Banora Point is raw and rustic — sleepers, cobblestone, weathered materials — this one is refined and Mediterranean. Same brief, same fire-first thinking, different material language entirely.
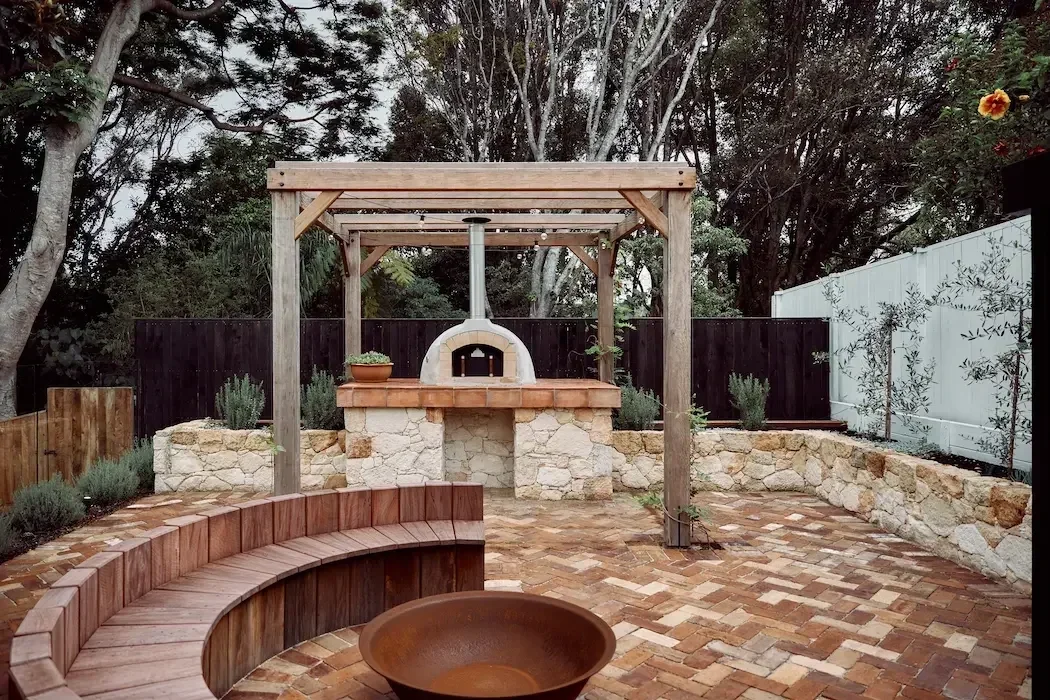
The fire feature is built from milled red ironbark slabs, 200mm x 100mm, set vertically in a semi-circle, with matching milled ironbark bench seating following the same curve. Same logic as Banora Point — every seat faces the fire, nobody's at the wrong angle — just executed in a material that reads warmer and more refined than raw sleepers.
Underfoot, recycled brick paving ties the space together. Around the edges, rosemary, lavender and olive trees do the rest — low, aromatic, textural planting that's genuinely low-maintenance once established, and about as close to the real Mediterranean as this climate allows.
This one goes further than a fire pit alone: a limestone-clad outdoor kitchen with a wood-fired pizza oven and a terracotta bench sits under a hardwood arbor, turning fire pit seating into a full outdoor living destination rather than a single feature.
Small Outdoor Spaces Work Just as Well — Sometimes Better
Treating a compact backyard as a limitation is the biggest mistake people make. A small outdoor space with one clear purpose — built entirely around evening use, fire pit at the centre — will outperform a larger yard with no focus every time.
Rustic or Mediterranean — Fire Pit Design Ideas to Suit Your Space
Timber and stone against a coastal or bushland block tends to suit the rustic direction. Rendered or Mediterranean-style homes, or gardens already leaning toward olive, lavender and terracotta tones, suit the second. Either way: build the fire pit first, then design everything else — seating, paving, planting, lighting — around it.
Before You Build
A fire pit is permanent, so a few things get settled at the design stage rather than worked out on the fly.
Safety Clearances
Distance from fences, overhanging trees and the house determines where the fire pit can actually go — it's the first thing that shapes the layout, before anything else gets designed around it.
Drainage
The base needs to shed water properly, built into a compacted, well-drained foundation from the start.
Council Requirements
Byron Shire and Tweed Shire have their own requirements around permanent outdoor fire features, and NSW total fire bans affect when a wood-burning fire pit can be used, regardless of what's approved. Both are worth knowing early if year-round use matters to you.
Fuel Type
Wood and gas are built differently — wood needs airflow and smoke clearance, gas needs a line run to the fire pit and different underfloor work. Deciding early keeps the build straightforward.
We work through all four with you at the design stage, so the fire pit you end up with is the one you actually planned for.
What This Kind of Space Actually Costs
Three things drive price: the diameter of the fire pit and seating circle, the total length of seating (four-person curve versus a wraparound bench for eight), and whether lighting and planting are part of the same build. Scope drives cost more than material choice — a compact rustic setup like Banora Point sits at a different price point to a full Mediterranean zone with an outdoor kitchen and arbor.
As a rough guide, projects of this scale in the Northern Rivers represent strong long-term value, because the materials and construction methods used won't need replacing or repairing in a few years. That's the whole point of building it properly the first time.
Frequently Asked Questions
-
It depends on scope — the diameter of the fire pit and seating circle, the total length of seating, and whether lighting and planting are part of the same build. A compact rustic setup like Banora Point sits at a different price point to a full Mediterranean zone with an outdoor kitchen and arbor. The best way to know is a site visit and a proper quote.n text goes here
-
It depends on the size, fuel type and location relative to boundaries and structures — some permanent fire features need approval, others don't. We check this as part of the design process, before anything's built, so there are no surprises later.
-
A standalone fire pit and seating area, like Banora Point, typically takes one to two weeks depending on site access and weather. A full outdoor living zone with paving, planting and a kitchen — closer to the Lennox Head scope — runs longer.
-
Yes, though it depends on what's already there. Adding a fire pit after the fact means working around existing paving, drainage and garden beds rather than designing them together from the start — still very achievable, just a different process to a new build.
-
A fire pit is open, low, and built for gathering around — seating faces inward, and it works as the centre of a space. An outdoor fireplace is vertical, usually against a wall or structure, and works more as a backdrop feature than a gathering point. Both have their place; it comes down to how you want people to sit and move around the fire.
Want a fire pit like one of these in your own backyard?
Contact us and let's talk about what fits your space.
Or see the full projects first: Rustic Fire Pit Banora Point and Mediterranean Outdoor Living, Lennox Head
Hedges
Hedges perform all kinds of functions. From windbreaks, screening unsightly fences and buildings, creating boundary lines, dividing a garden into specific spaces, highlighting lines or to provide a backdrop for a contrasting foreground.
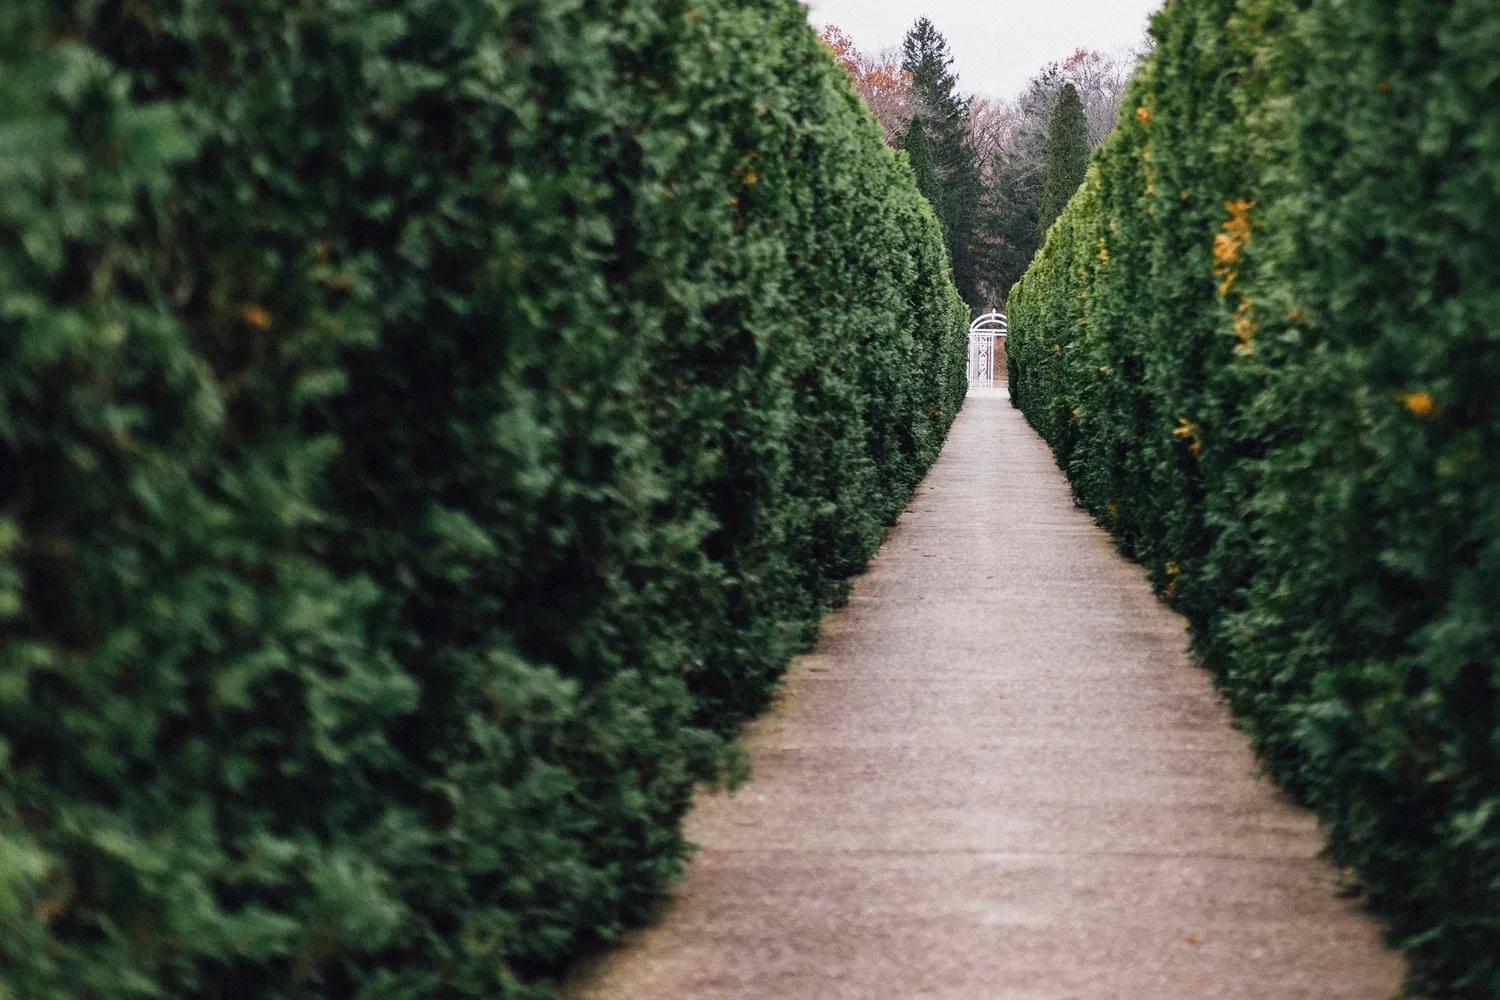
Formal hedge pathway leading to garden entrance by Green Sky Landscapes in Byron Bay
When thinking of hedges, they can be easily relegated to two groups - formal and informal. This can usually
be defined by the species used and how it is kept (pruned and clipped or natural form)
A formal hedge will usually use a certain tree or plant, species with small leaves will give a denser and overall neater appearance due to the ease of defined pruning.
Architecturally, the use of straight lines, symmetry and repetition defines a formal garden.
An informal hedge will have a free growing form, so any vigorous growing shrub can be used
When designing a garden, often the initial starting point is the structural elements, like retaining walls, decks & pergolas, hard surfaces etc. Hedges, whilst still part of the planting offer a structural element to the design. I like to have hedging at the front of mind during the conceptualisation process, while drafting the functional analysis
Some tall trees that work well as hedges are:
Acmena smithii (lilly pilly)
x Cupressocyparis leylandii ‘Leighton Green’
Ficus microcarpa var. Hillii ‘Hill’s fig’
Prunus laurocerasus ‘cherry laurel’
Waterhousea floribunda ‘weeping lilly pilly’

Medium hedge by Green Sky Landscapes in Byron Bay
Medium size:
Camellia sasanqua
Laurus nobilis ‘bay laurel’
Murraya paniculata ‘orange jessamine’
Photinia x fraser (red robin)
Viburnum odaratissimum (Sweet viburnum)
Smaller hedges:
Buxus microphylla var. Japonica (Japanese box)
Buxus sempervirens (English box)
Lavandula angustifolia ‘Hidcote’
Lonicera nitida (box leaf honeysuckle)
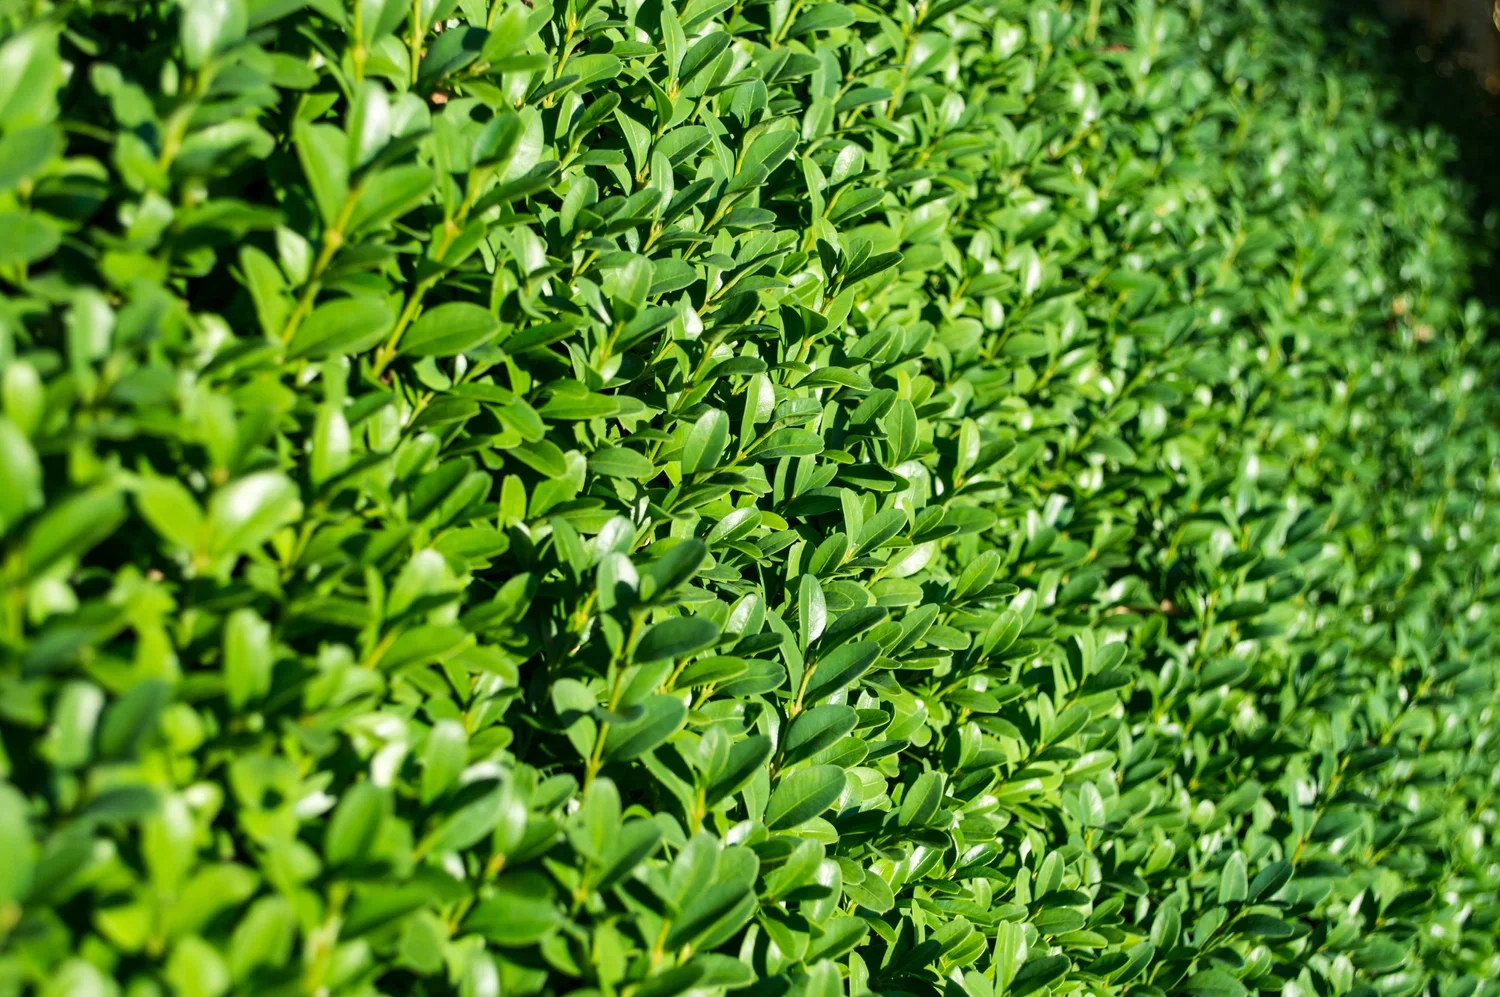
Low hedge by Green Sky Landscapes in Byron Bay
Landscape Lighting
The addition of landscape lighting can transform a space which was only being utilised throughout the day into a space which can be enjoyed both day and night. Adding a view from inside the house by bringing the surrounding garden to life with lighting which can be enjoyed as an extension of the house.
Lighting can be used to highlight specimen trees, ornamentation, feature walls and water features etc. Lighting can used to inconspicuously add light by uplighting from the base.
Safety lighting provides illumination to guide those moving through the garden, usually small lights near steps or directing pathways and driveways.
When considering lighting in a landscape design it makes sense that the actual light should be aesthetically pleasing to look at. There are many types of decorative light fixtures in many styles which can add decorative value to space and enhance the outdoor to indoor connection.
Decorative lights can be added to the entrance of the house, front gate or at the dining setting.

Acer Palmatum - Japanese Maple
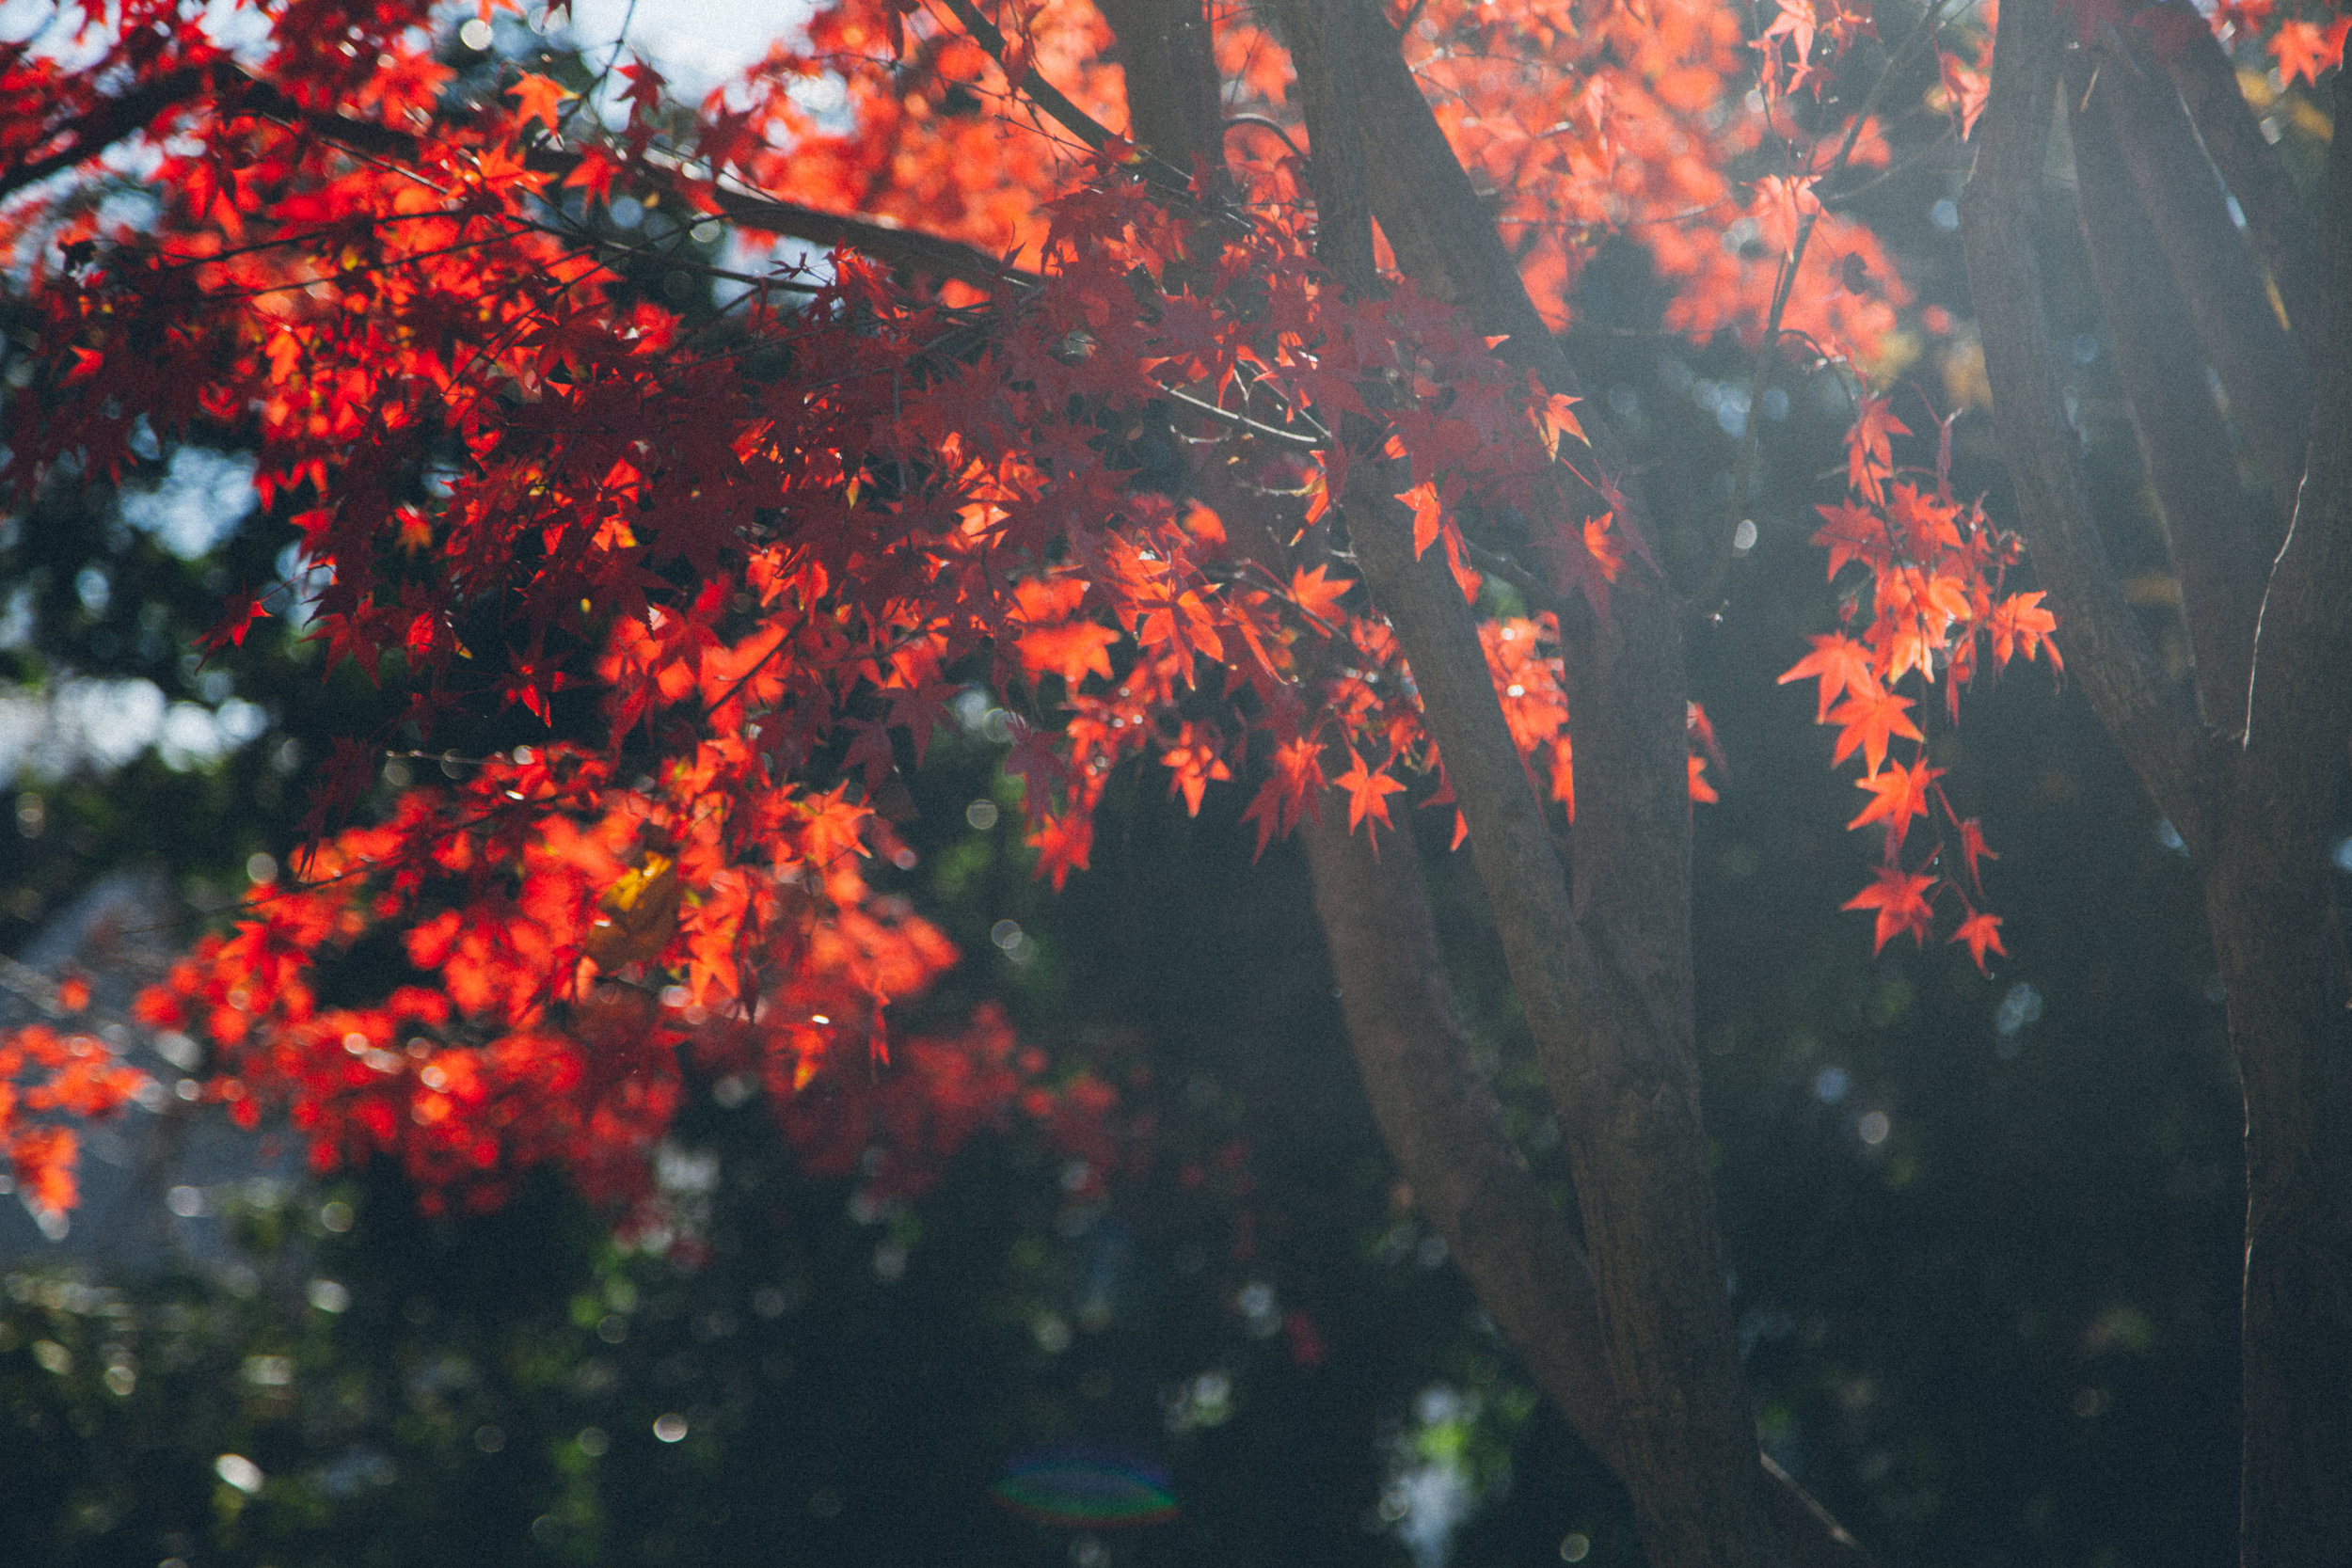
‘Acer palmatum’ commonly known as The Japanese Maple is native to the mountains of the Japanese forests, however it can be grown successfully anywhere from The Hinterland to the beachfronts here in Byron Bay to if given enough protection and water.

The Japanese Maple boasts a countless number of cultivars with even more variations of size, form, shape, colour and leaf surface.
There are varieties which turn red in Autumn and varieties which have green leaves that turn yellow or orange.
There are also differences in form and leaf surface.
As the names imply, the upright Japanese Maple will grow in a typical upright form with rigid growth and an equal spread. The leaf shape does tend to be palmate with a flat surface and referred as ‘whole-leaf’.
The weeping Japanese Maple’s have a weeping, almost mounding form. Their leaves have a lace textured surface and called ‘cut-leaf’

Adding to the versatility of The Japanese Maple, there are dwarf species, making them perfect for including in a design for small areas. The dwarf species have a range of heights, colours, form, habit and shape
When used in a landscape design The Japanese maple can work in many styles, not just Japanese gardens. It can be used in many ways, it works well as a specimen tree in small gardens, an understory tree, it can be used in pots and containers and as it is deciduous it can be used to create shade through the warmer months whilst letting in filtered light during Autumn